Getting Started
Installation, setup, permissions, and initial configuration
System Requirements
Android Device Requirements:
- Android 7.0 (API level 24) or higher
- NFC capability (for DNIe and Passport reading)
- Camera (for QR codes and MRZ scanning)
- Internet connection (for integrations)
Installation
Google Play Store
Install DocuGuest from the official Google Play Store for the best experience:
- Open the Google Play Store on your Android device
- Search for "DocuGuest"
- Tap "Install" to download
- The app will automatically install and appear on your home screen
Required Permissions
| Permission | Purpose | Required For |
|---|---|---|
| NFC | Read electronic documents via NFC chip | DNIe, Passport reading |
| Camera | Scan QR codes and document MRZ | MiDNI, MRZ scanning, CAN detection |
| Internet | Send data to integrated systems | GuestPro, Gesvi integration |
| Vibration | Haptic feedback | User experience (optional) |
Privacy Note: DocuGuest does not store or transmit personal data without explicit user action. All document data is processed locally unless you choose to send it to an integrated system.
First Launch
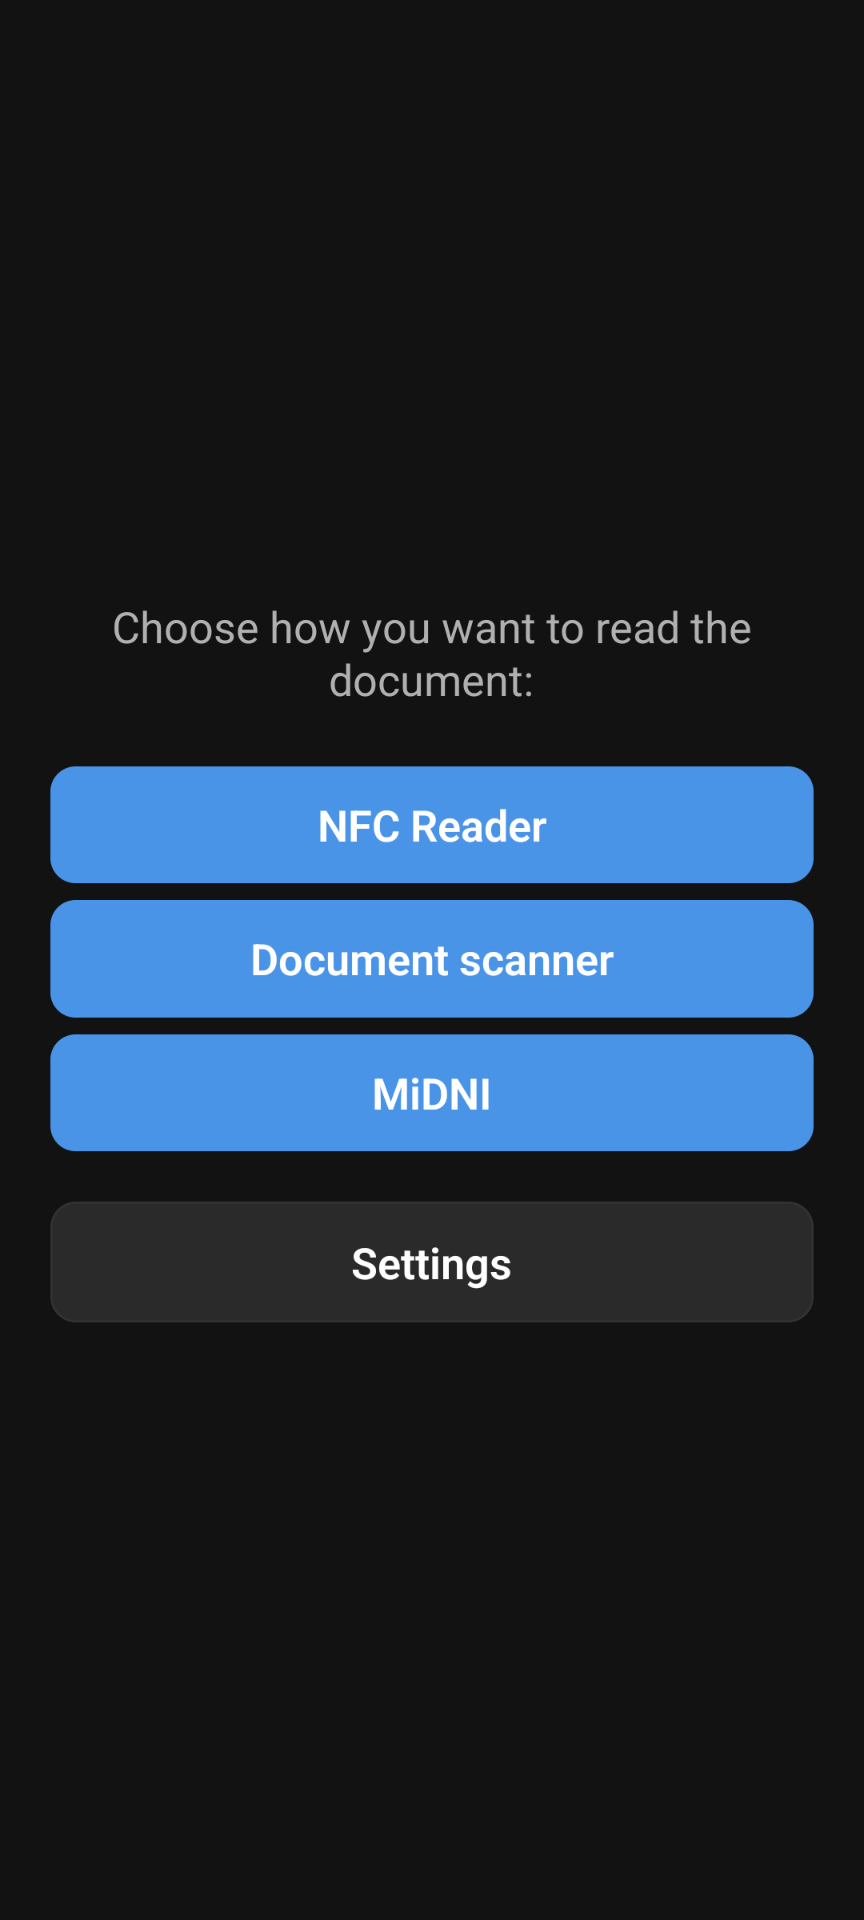
Home Screen
When you first launch DocuGuest, you'll see the main menu with options for different document types:
- DNIe NFC: Spanish electronic ID cards (requires NFC)
- MiDNI: Spanish Digital ID QR codes
- Passport NFC: Electronic passports (requires NFC)
- Document scanner: MRZ-based documents (camera only)
- Settings: App configuration and integration setup
Note: NFC features show as disabled if NFC is not available or turned off on your device.
Language Selection
DocuGuest supports multiple languages. To change the language:
- Tap on Settings from the home screen
- Find the Language section
- Select your preferred language:
- English
- Español (Spanish)
- The app will immediately update to your selected language
Tip
The app automatically detects your device's language on first launch.